
If you’re considering buying a Zenith ZF-5 or already own one and are researching MP5 fixed mag options and MP5 fixed magazine state compliance in California, this article answers the practical questions buyers care about. You’ll learn how to evaluate compliant configurations, what documentation to insist upon, how to communicate with sellers and licensed professionals, and what to display on your product pages if you’re selling. This is buyer-focused: no technical installation steps, no DIY advice — only the clear, practical information you need to make a confident, legal purchase.
If you’re shopping for a new Zenith ZF-5, here are the buyer-centric checks that make a purchase smooth and defensible:
Explicit configuration language. The product title and description should plainly state whether the ZF-5 is offered in a “California-legal fixed-mag” or “California single-shot” configuration. Don’t accept vague language.
These steps help you avoid surprises and keep your ownership documentation tidy in the event compliance questions arise later.
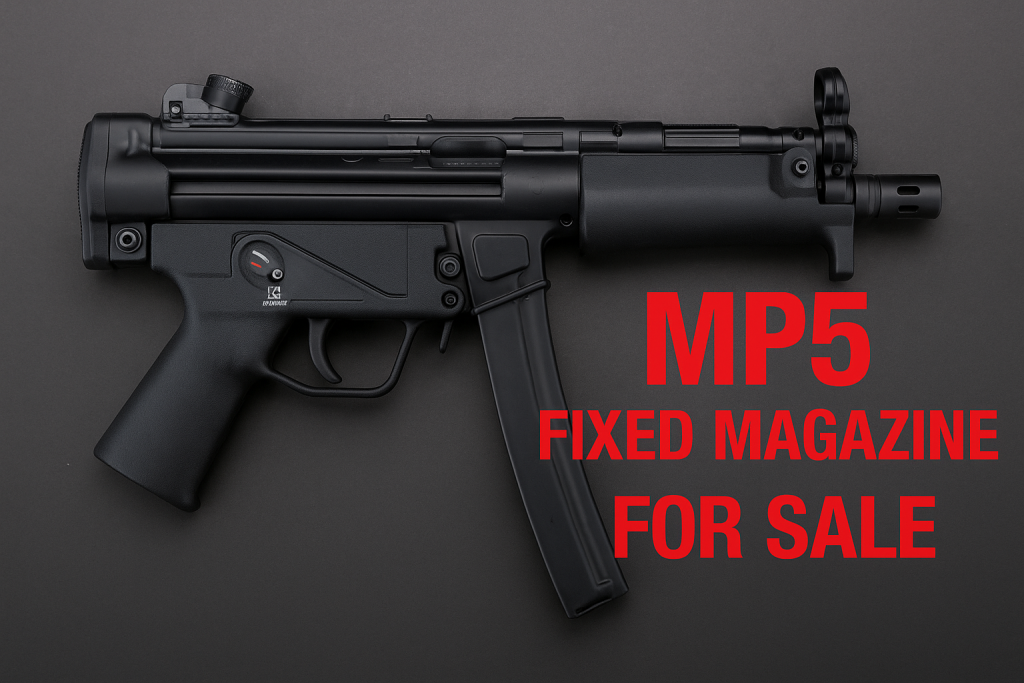
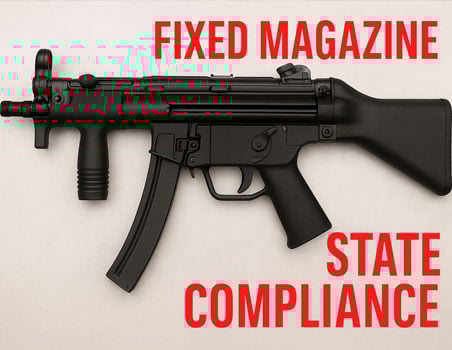
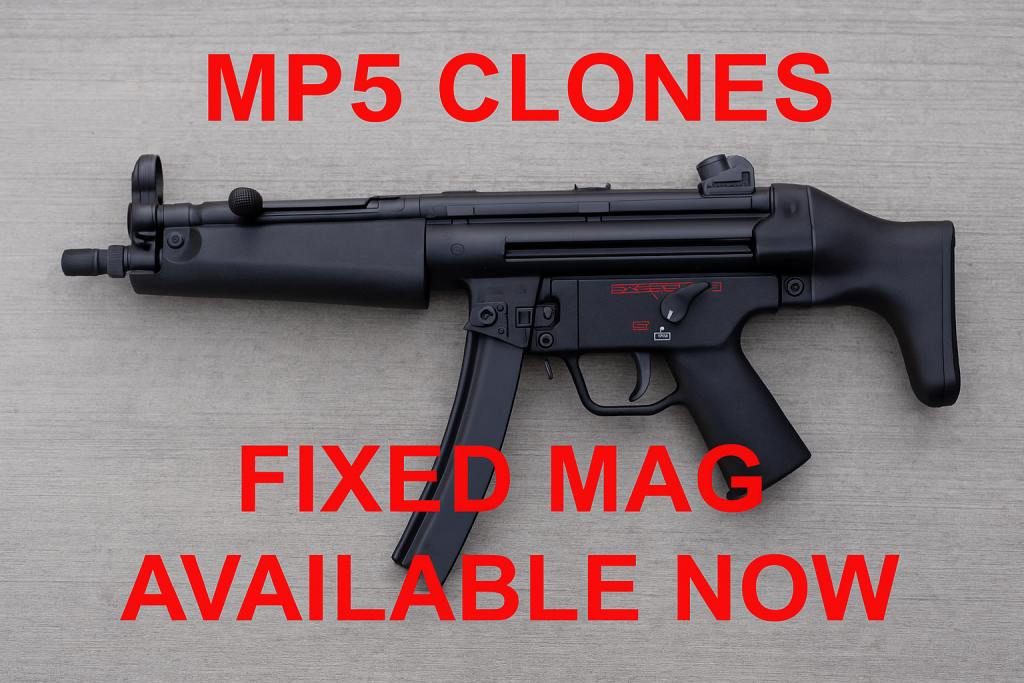
California law treats firearms differently based on features and magazine functionality. For many people who want an MP5-style platform, the difference between a detachable magazine and a MP5 fixed mag configuration is the difference between lawful ownership and running afoul of restrictive classifications.
For a Zenith ZF-5 buyer, choosing a fixed-mag or properly configured single-shot option can:
Allow you to retain the MP5-style ergonomics and handling you want.
Provide a pathway for lawful purchase and transfer in California.
Reduce the risk of an unintended reclassification or legal complication during transfer.
In short: if you want an MP5 clone in California, understanding MP5 fixed magazine state compliance is central to buying the right variant and keeping everything documented.

For each Zenith ZF-5 purchase intended to meet MP5 fixed magazine state compliance, aim to leave the point of sale with these documents:
Sales invoice listing exact configuration and serial number.
Manufacturer specification sheet or compliance statement that references the model and configuration. It depends what Zenith offers. Most of the manual are available online on their website.
Installer/FFL service record if any professional work or configuration verification was done. We receive the firearm in several pieces since the Zenith MP5 clone must be built by us to be able to sell the firearm legally.
Return policy and warranty documents that apply to the specific configuration sold. See our product page – follow the link for details.
Keeping these items in a secure folder is the simplest, most practical protection for buyers in regulated jurisdictions.
Q: Will a Zenith ZF-5 sold as “fixed-mag” always be legal in CA?
A: A seller can offer a configuration intended to meet California rules, but interpretations and enforcement can change. Our firearm is sold to meet California regulations. As we all know, California has strict gun laws that changes every minute. Please keep abreast of any gun law passed.
Q: What should I do if I need proof of compliance?
A: California DOJ will not provide any proof that you seek. A fixed mag is just that, a firearm that has a fixed magazine that you cannot remove until you open the upper and lower receiver to release the magazine. This method is similar to the ARMagLock.
Q: Can I change the configuration later?
A: Any changes that alter magazine functionality or other defining features can affect legal classification. Consult a licensed professional when you move to another State. We do provide the original MP5 clone housing when you purchase it from us.
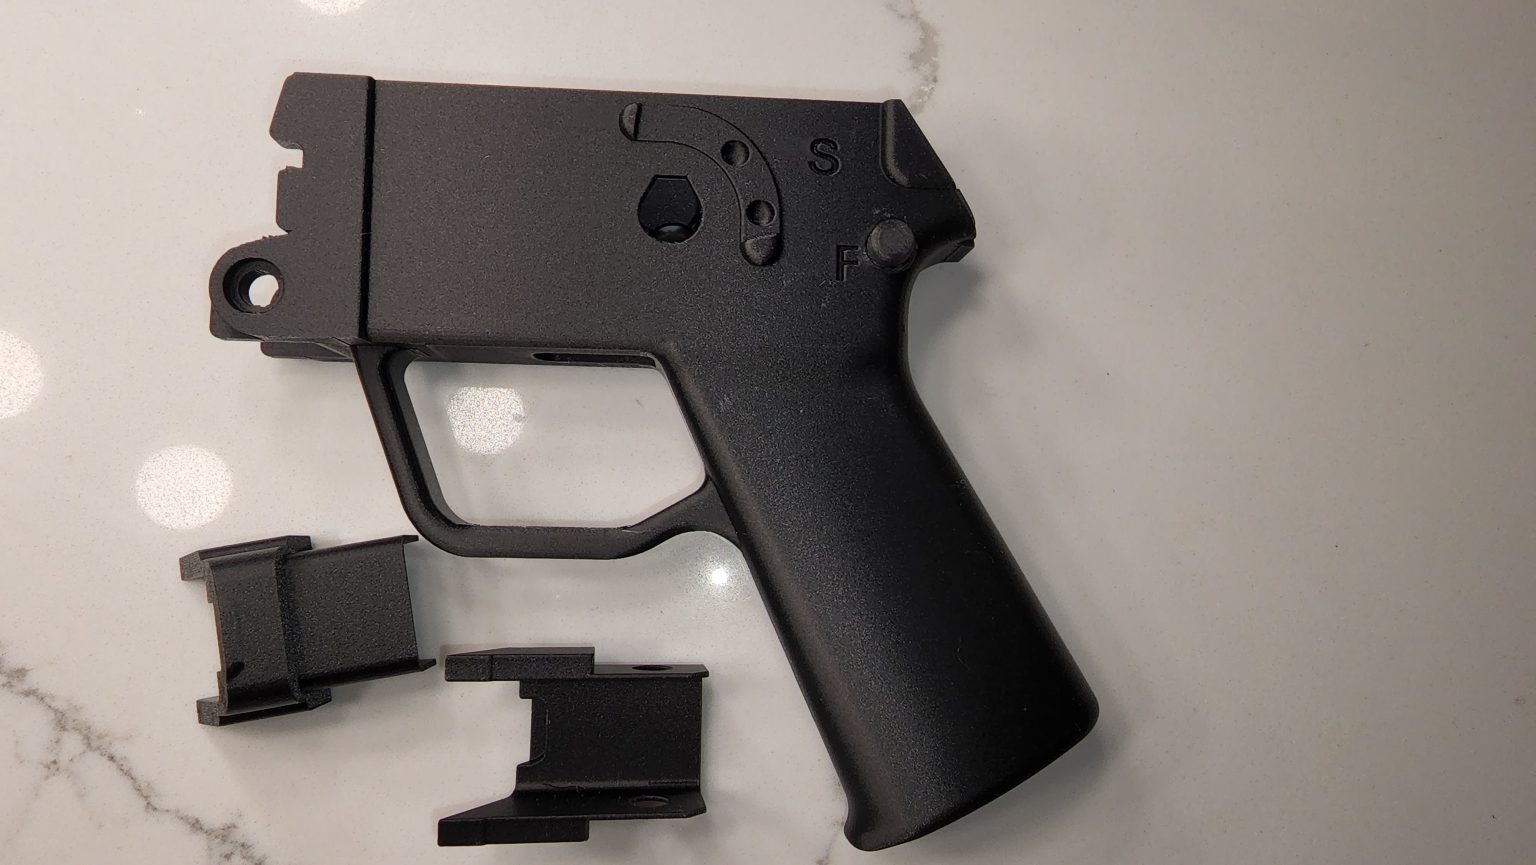
Installing the 3D-printed fixed-magazine housing is almost the same as installing the housing that came with the MP5 clone.
Tools required: an Allen wrench (to remove the safety), a flat screwdriver (to help wiggle the trigger out of the housing), and some gun oil (any type) to lightly lubricate the outside of the trigger so it’s easier to insert and remove during installation.
It’s a tight fit, so there’s no wiggle room — think “squeeze-into-skinny-jeans” tight.
When installing the trigger into the 3D-printed housing, push down until you hear a click and the holes align properly for the safety to be inserted. The safety should go in without difficulty; if you have trouble, it’s most likely because the holes aren’t aligned correctly.
If the 3D print doesn’t lower enough to clear the magazine catch, your MP5 frame may have a bending or stamping misalignment and could be slightly out of spec. See the video at 2:30 to watch how the 3D housing clears the magazine catch.
You may need to sand the tab down — check the end of the video to identify which tab I mean. Sand carefully so you don’t remove too much material; slow and steady wins the race (and keeps the part usable).
Once the trigger is installed, fit the housing as you normally would, add the rear brackets, then install the butt cap (or whatever cap you’re using). It will be a snug fit, so be patient. Once the butt cap is in place, install the pins and you should be ready to head to the range!